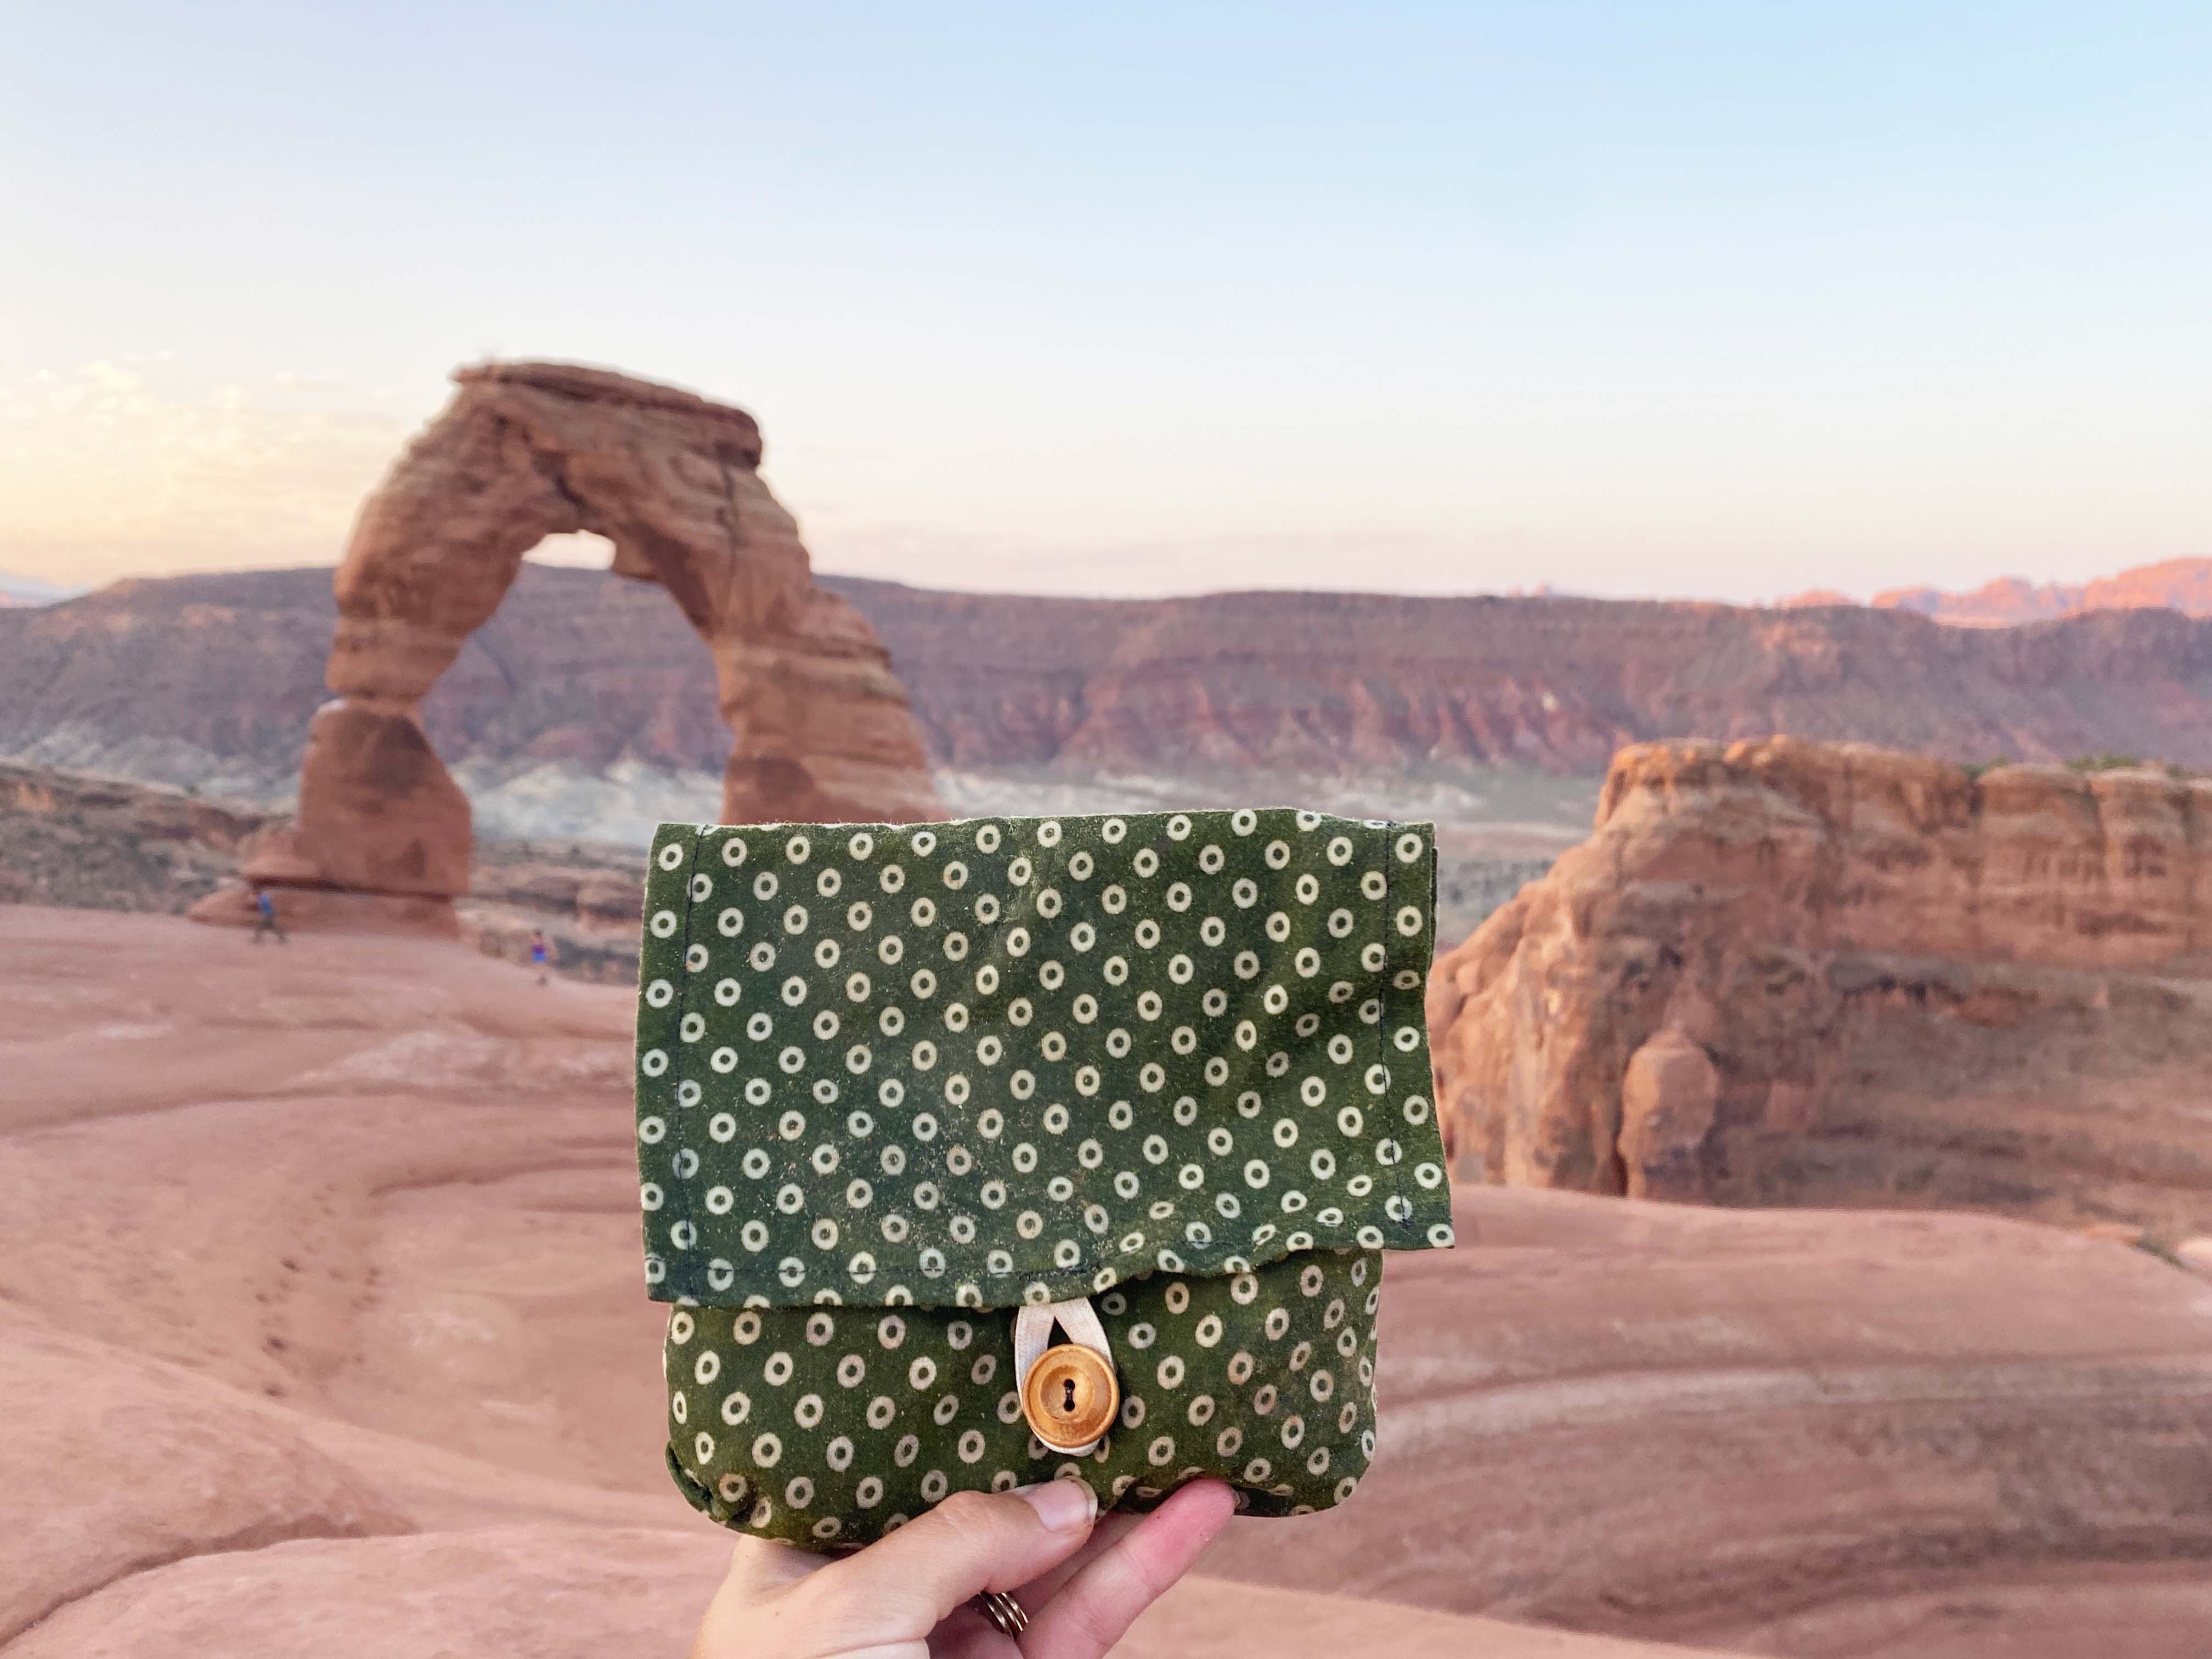
How to Make a Reusable Beeswax Sandwich Bag
Week 36
This week we've taken a look at the environmental impact of ZipLoc Bags and dicovered that though convenient, single-use plastic bags are contaminating our waterways and living in our landfills for hundreds of years. While Stasher bags offer an excellent sustainable replacement, the upfront cost can add up quickly.
If a collection of Stasher bags isn't really in the budget right now, or you're just feeling crafty, you can make this resuable beeswax wrap sandwich bag instead! I made some before my husband and I took a cross country road trip to Utah and we would both happy with how well they kept our PB & J's when we brought them on our hikes.
What You'll Need:
- 7" x 18" Beeswax Wrap
- Button
- Elastic
- Sewing notions
-

Follow this tutorial to make a 7" x 18" beeswax wrap.
-

Stich 1/2" of fabric down on each 7" side of your beeswax wrap.
-

With your fabric right side up, fold one side over 7".
-

Fold this same flap back the other way 1/2". See picture.
-

Fold the same flap another 1/2", so that it lines up with the initial fold. See picture.
-

Stitch each side down with a 1/2"seam allowance.
-

Flip your bag inside out. You should have a nice square bottom, perfect for sandwiches.
-

Fold over the edges of the top flap 1/2" and stich in place.
-

Add a small elastic loop to the edge of the top flap.
-

Fold the flap over to determine a good spot to attach your button.
-

Step back and admire your homemade sandwich bag.