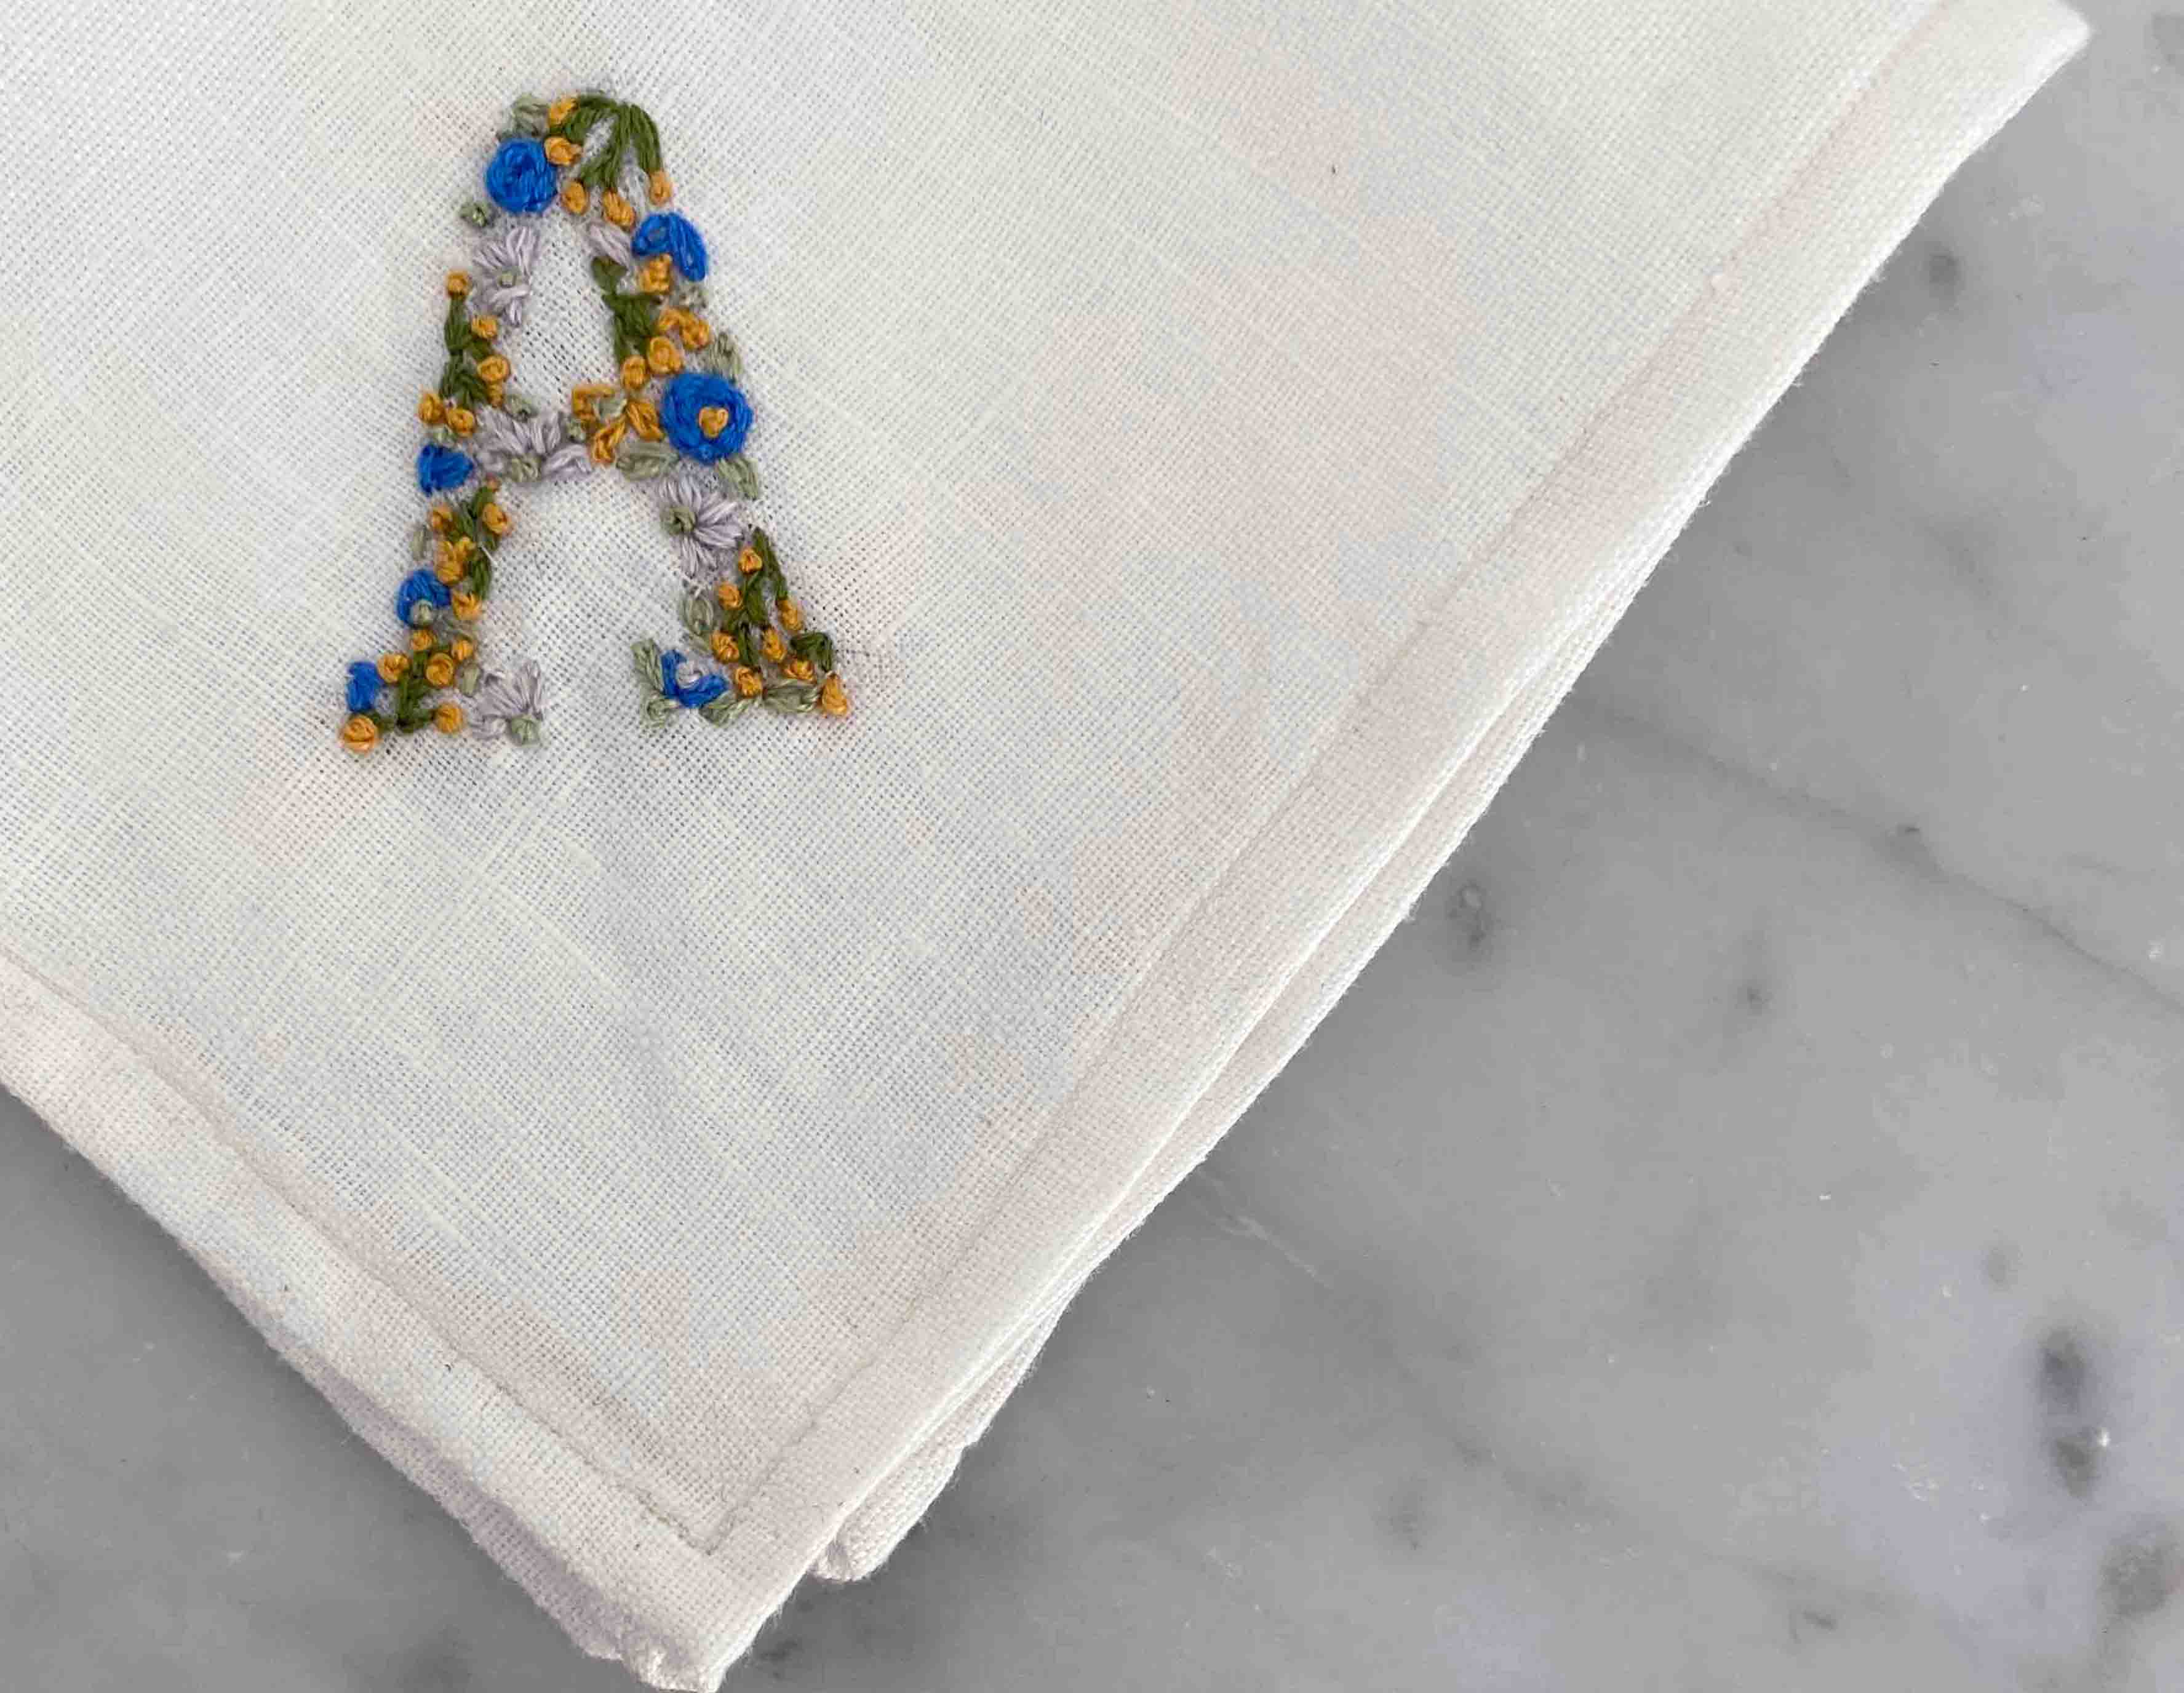
Make a Hankie
Week 8
It doesn't take much to make your own hankie and by keeping one on you, you'll have no need to waste a paper napkin when you're out and about. Note: this tutorial is only for the napkin itself, not a lesson on embroidery.
What you'll need
- Fabric remnants/old pillowcase/tired clothes - you can use anything, but natural fabrics are typically more absorbent.
- Scissors
- Needle and Thread/Sew Machine and thread to match fabric
- Straight Pins
- Iron
Let's make a hankie!
-

Grab your fabric. I used a stained linen pillowcase that my sister was getting rid of.
-

Cut out a square. You can make it any size you like, but I cut out 12" x 12" and found it to be perfect.
-

You can fold your square diagonally to make sure it is a nice even square.
-

Fold over each edge about a quarter of an inch and iron.
-

Snip off a small triangle from each corner. See picture.
-

Fold down each corner about a quarter of an inch from point.
-

Fold each edge over a quarter of an inch and pin in place. Corners should meet at a clean 45 degree seam.
-

Iron your new folds to set the crease.
-

Sew down all four sides by hand or machine. You should be able to use the edge of the sewing machine foot as a guide.
-

Your hankie is complete. Embellish however you like! I embroidered a little floral "A" for my first name.