Make a Multi-Purpose Spray Cleaning Bottle
Week 31
There are a whole slew of environmental problems with conventional household cleaners. This week, in an attempt to clean my home a little more sustainably, I found somelow-waste, environmentally-friendly cleaning products to replace the toxic sprays I've been using. I also learned that there are plenty of ways to spruce up the place with natural ingredients most of us already have at home. So, using a glass vinegar bottle, a spray top from an empty cleaning bottle, and some Cricut materials I had in my craft room, I made a multi-purpose cleaning bottle that I can use in every room of my home!
Disclosure: This post contains affiliate links, meaning, at no additional cost to you, I may earn a small commission if you click through and make a purchase.
These instructions are specifically for Cricut users, but you definitely don't need a Cricut to make a multi-purpose cleaning spray bottle. Here are the recipes I used in case you'd like to design and make your owm!

What you'll need:
- 32 oz glass Heinz vinegar bottle - these specific bottles fit every spray top I've tried. Nature's promise looks identical, but spray tops won't screw on.
- Spray top from empty cleaning bottle
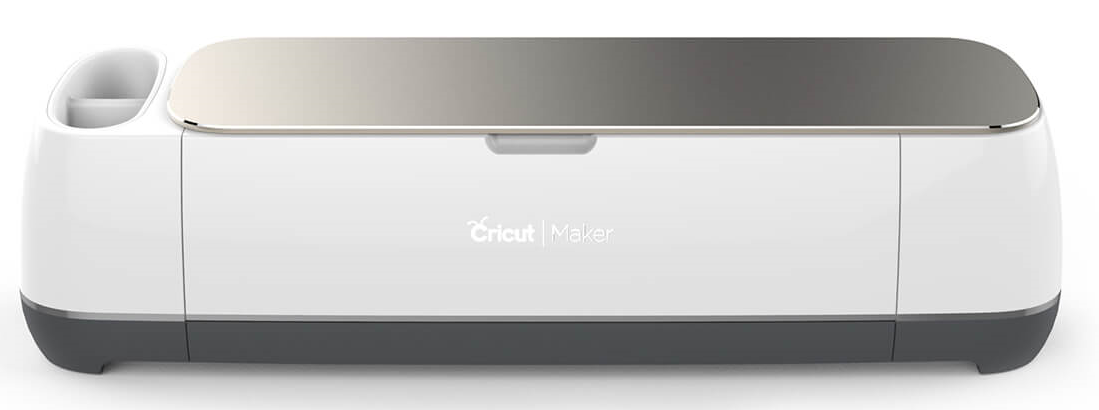
- Cricut
- Permanent Adhesive Vinyl
- Standard Grip Mat
- Transfer Tape (NOT STRONG)
- Weeder Tool
- Scraper Tool
- Fine Point Blade
Let's make a multi-purpose cleaner bottle!
-

First, remove the label from your bottle. The easiest method I've found is to sprinkle some baking soda into a pot of boiling water, then add the bottle in and its label will fall off in a few minutes.
-

Use permanent vinyl on a standard grip mat and cut out the Cleaning Label with a fine point blade.
-

Remove the vinyl from the mat and cut a piece of transfer tape that is roughly the same size, about 5" x 11".
-

Slowly cover the vinyl label with the transfer tape, using the scraper to smooth out air bubbles as you go.
-

Use the weeding tool to remove the letters and other negative spaces. This is the most tedious part of the project, so take your time.
-

This is how the label should look once you've finished weeding.
-

Your Heinz bottle should have a horizontal indent about 1.24" from the bottom and a vertical seam. Use these lines as a guide for applying the bottom and leftmost edge of your label. This placement is important becuase the water fill line has been measured from the bottom of the bottle.
-

Slowly, fix the label on the bottle, using the scraper tool to smooth out air bubbles.
-

Carefully remove the transfer tape, making sure the vinyl stays on the bottle.
-

Screw on the spray top and voila, your multi-purpose cleaning bottle is complete!
-

To use, add the appropriate ingredients from bottom to top, using the empty spaces as fill lines, followed by two smalled ingredients at the top.
A few final notes:
I wanted to keep the writing on the bottle brief, so here are a few explanations:
- "Alcohol" implies rubbing alcohol
- "Vinegar" implies distilled white vinegar
- Essential oils are completely optional and used for scent
- Warm water tends to work best with these cleaning solutions