
Make the Change: Recycling Bins
Week 1
This week I made easy to understand recycling bins!
My township offers a single stream curbside recycling program, which means I can put all of my recyclables in one bin. This does not mean that everything can be recycled. My husband and I will likely be able to remember our local requirements, but I wanted to make sure everyone else entering our home can easily navigate our recycling set up.
Let's make some recycling bins
I bought four small trash cans from Lowes for about $5 each and made labels with some sticky permanent vinyl sheets I already had. You can use ANY kind of container for this...cardboard boxes, storage bins, buckets...just make sure it's big enough to hold your recyclables.
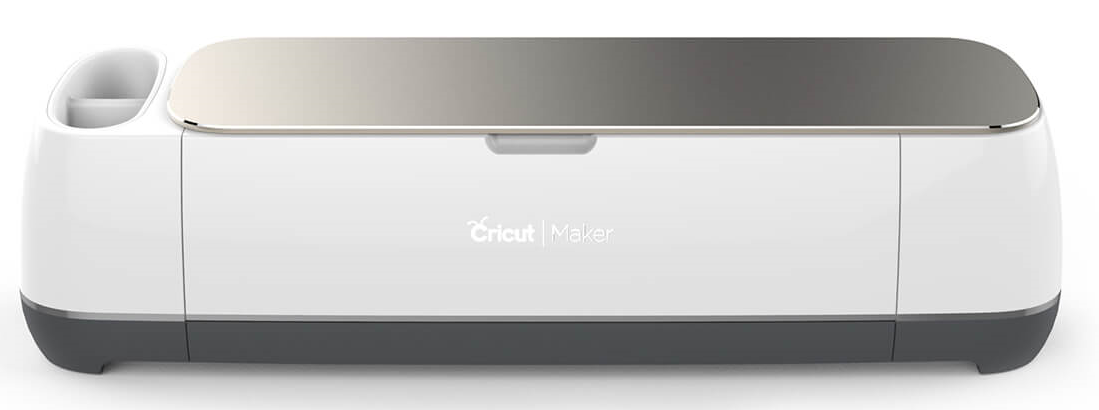
Disclosure: This post contains affiliate links, meaning, at no additional cost to you, I may earn a small commission if you click through and make a purchase.These instructions are specifically for Cricut users, but you definitely don't need a Cricut to make cute labels. You could print them out and tape them up, make your own stencils, or simply write with a paint pen. The most important thing is that your recycling bins are clearly labeled for everyone using them. I've included the images I used to make my stickers, in case you'd like to be twinsies.
What you'll need
- One Bin for Every Recycling Category
- Permanent Adhesive Vinyl (I used orange, yellow, green and light blue)
- Standard Grip Mat
- Transfer Tape or Masking Tape
- A Weeder Tool (a toothpick would work just as well) or Tweezers
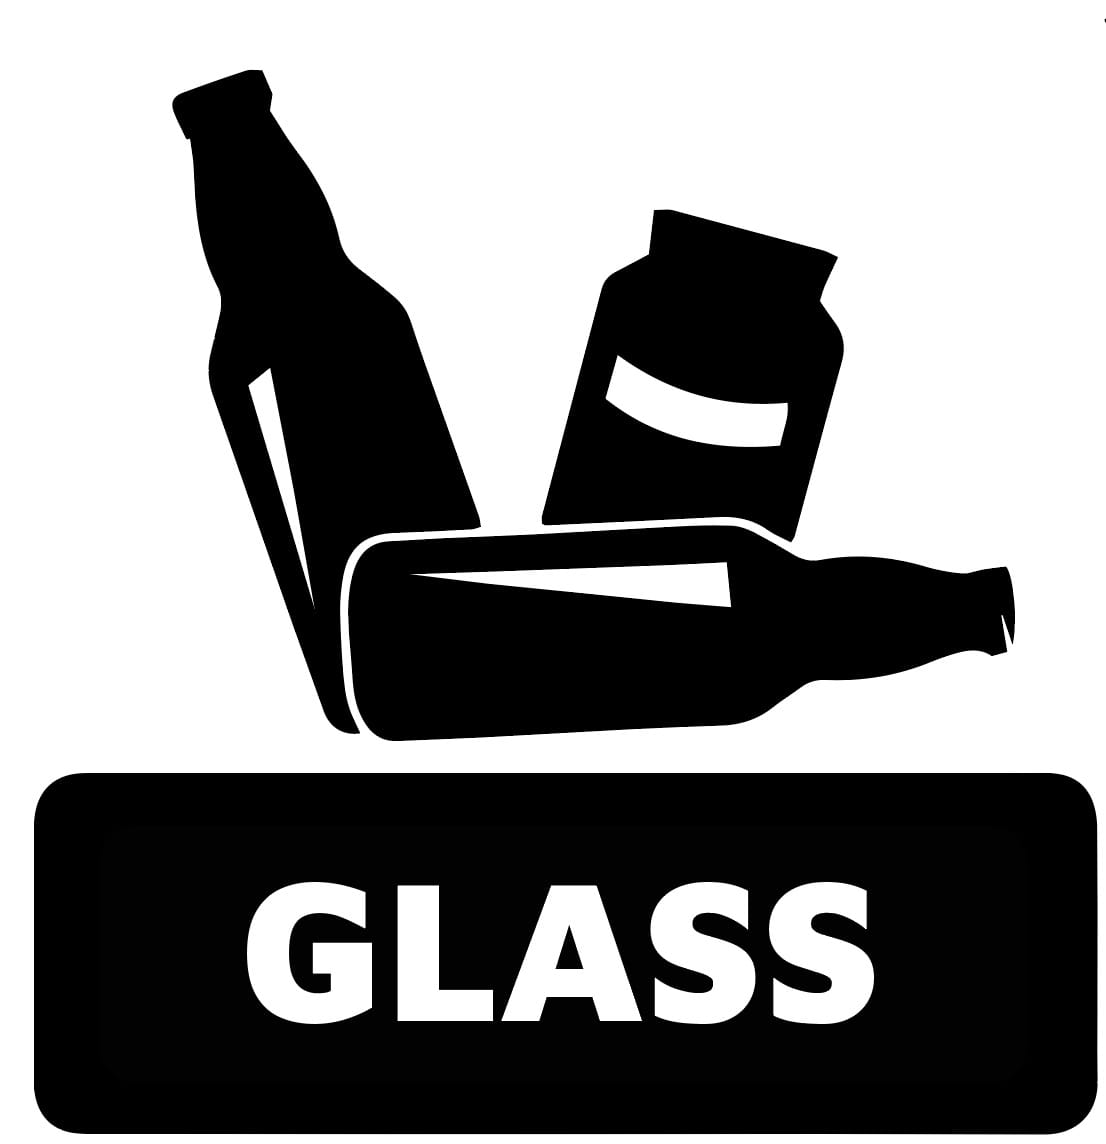
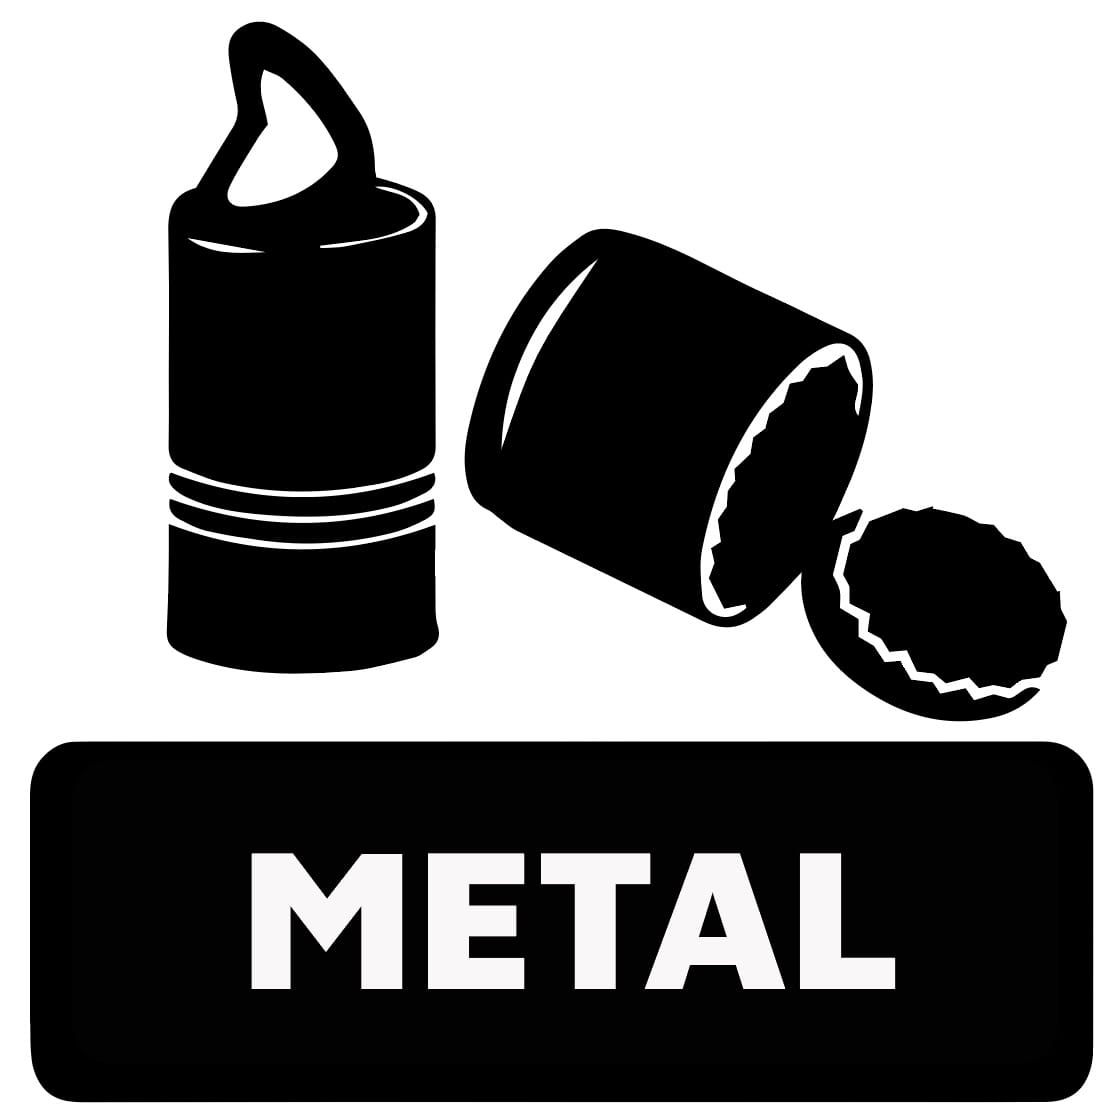
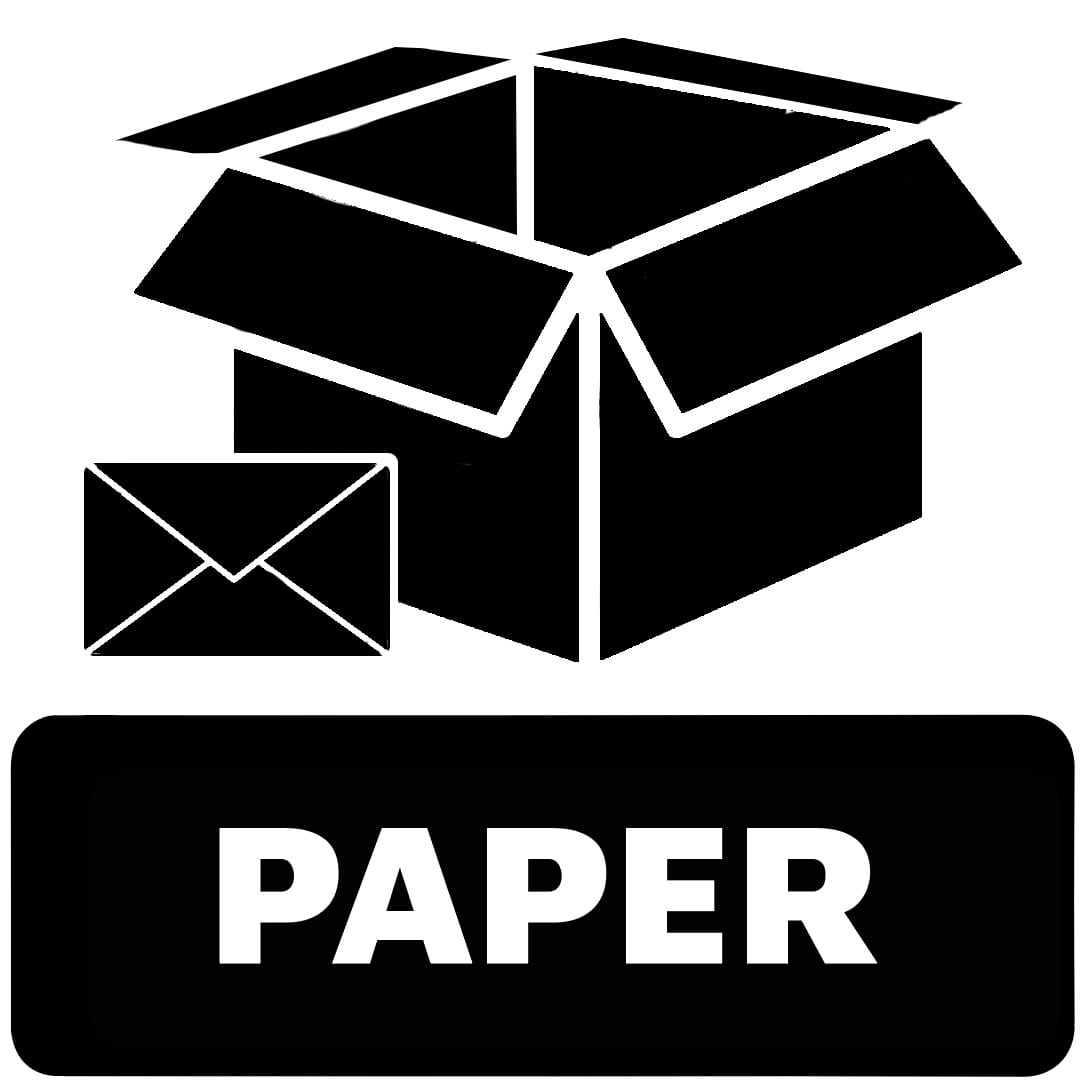
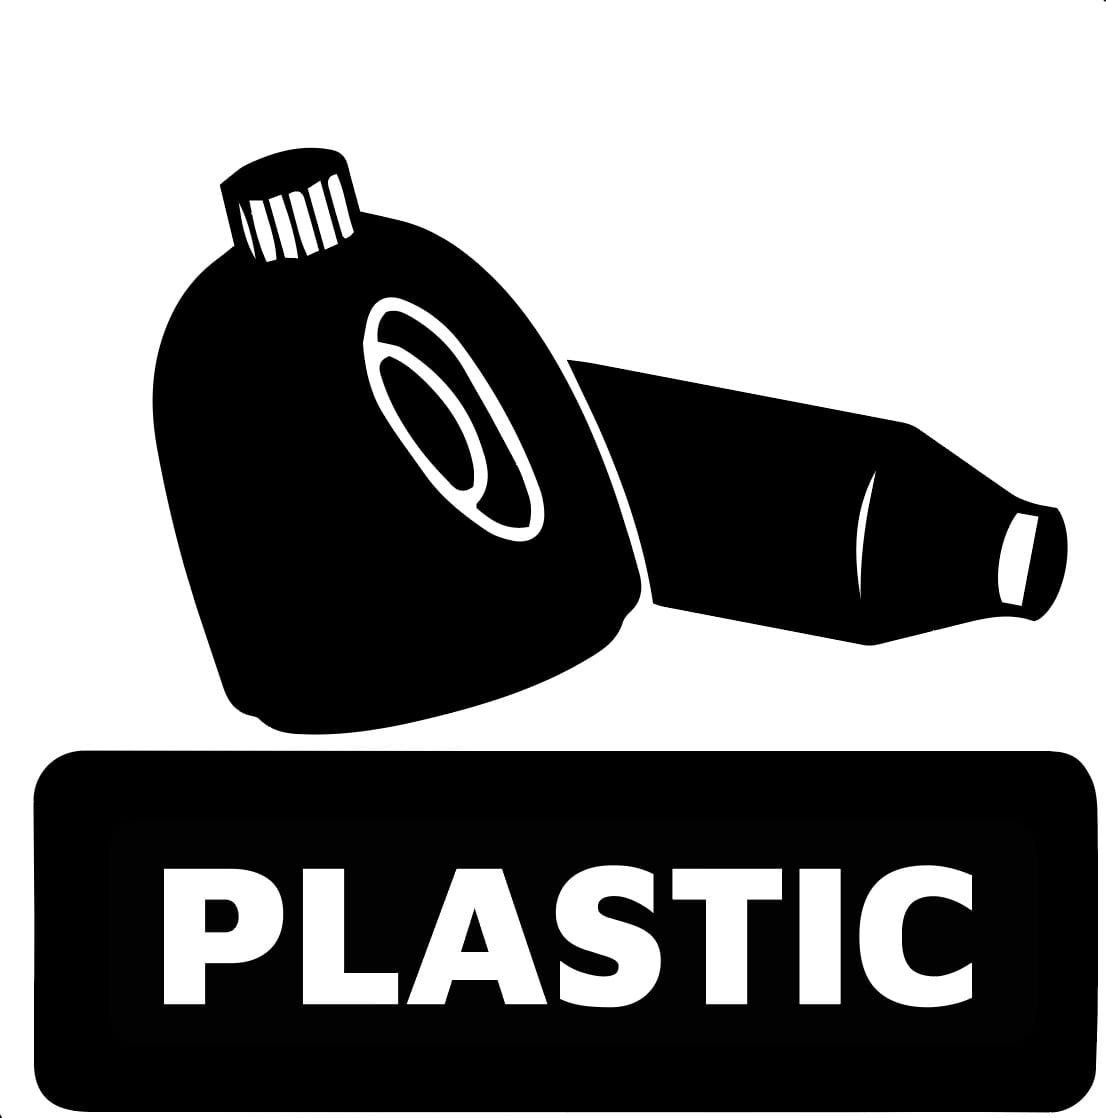
- Label Images - Download my four sticker designs here: Glass, Metal, Paper, and Plastic
-

First, you'll upload the image you would like use. Make sure you remove the negative space. If you're using mine, that would be all of the white areas.
-

Size the image to fit on your intended surface. I made mine 5" wide, which by default made them about 5" tall.
-

Make sure the image is set to "Linetype: Cut" and "Fill: No Fill", then click "Make It". You'll choose "Vinyl" as the material and follow the steps on your screen.
-

Cut out your image so you have a smaller area to work with and remove the vinyl from the negative space.
-

Use a weeder, toothpick or tweezers to help remove the smaller areas.
-

Cut your transfer tape or masking tape to fit your project size and tape over the vinyl. Tiny Waste Pro Tip: I used one piece of transfer tape for all four bins.
-

Pull the tape away from the vinyl backing, making sure the vinyl sticks to the tape.
-

Line up the vinyl on your intended surface. Make note so all bins have the same placement.
-

Slowly remove the transfer tape, making sure the vinyl stays on the bin.
-

Step back and admire your work, then teach everyone in your house how to start using your very clearly labeled bins!